
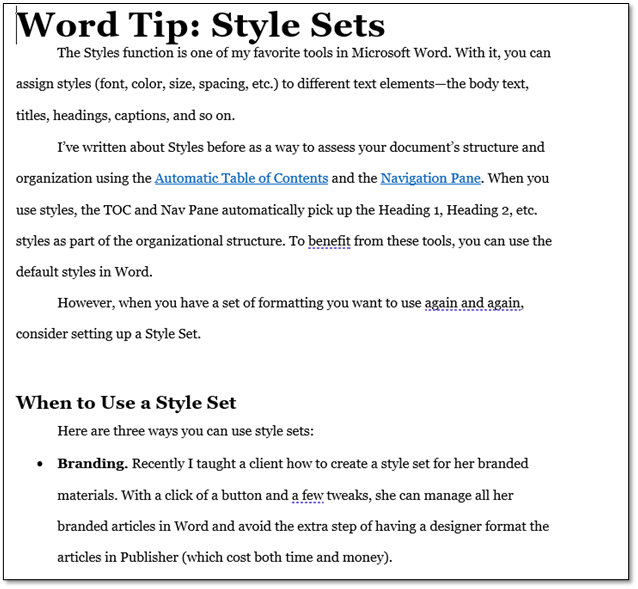
The Styles function is one of my favorite tools in Microsoft Word. With it, you can assign styles (font, color, size, spacing, etc.) to different text elements—the body text, titles, headings, captions, and so on.
I’ve written about Styles before as a way to assess your document’s structure and organization using the Automatic Table of Contents and the Navigation Pane. When you use styles, the TOC and Nav Pane automatically pick up the Heading styles (Heading 1, Heading 2, etc.) as part of the organizational structure.
To benefit from these tools, you can use the default styles in Word. However, when you have a set of formatting you want to use again and again, create a Style Set.
Ways to Use a Style Set
Here are three ways you can use style sets.
Branding
Recently I taught a client how to create a style set for her branded materials. With a click of a button and a few tweaks, she can manage all her branded articles in Word and avoid the extra step of having a designer format the articles in Publisher (which was costing her both time and money).
Alternative branding
I use a style set for my own branded documents as well. Some of the fonts I use are nonstandard (i.e., they don’t come with Word), which is fine as long as I send documents in PDF form.
But when I need to send an actual Word document, to get the right look I would have to embed fonts, which can make a file huge. So I set up a style set that is very close to my brand fonts but uses fonts that are standard in Word. Again, I can switch to these fonts with a click of a button.
Manuscript formatting
In the publishing industry, manuscripts have a common format—double-spaced, first line indented, standard font—to make manuscripts easier to read and edit. When I begin work on a client’s manuscript, the first thing I do is reformat to the industry standard—with a click of a button (okay maybe two clicks and sometimes a little cleanup).
If you frequently find yourself going page by page through your document to change all your headings one at a time, you are a candidate to use Styles and Style Sets.
How to Create a Style Set
To set up and save a Style Set…
Step 1: Set up individual Styles.
Set up a document with the styles you want. I suggest starting with Normal, Heading 1, Heading 2, Heading 3, and Title.
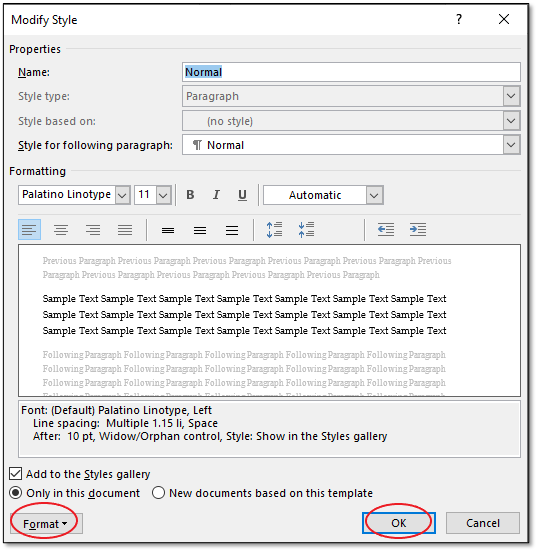
To change the formatting on any individual style, in the Styles box (on the Home tab), right-click on the style (Normal in this case) and choose Modify…
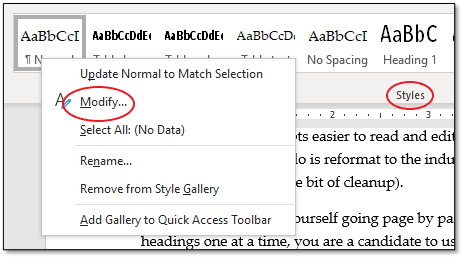
A dialog box will open that lets you set font, size, color, and so on. If you click the Format button at lower left, you can adjust more details in Font, Paragraph, Tab, and so on. When you’re done, click OK.
(For more on setting up Styles, see my TOC article or the Microsoft support page.)
Step 2: Save the Style Set.
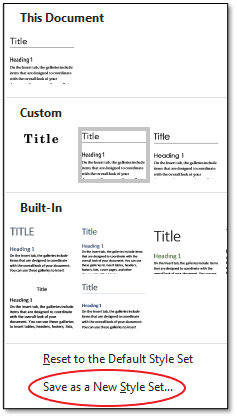
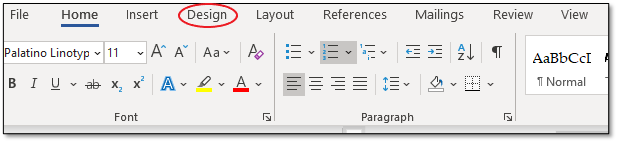
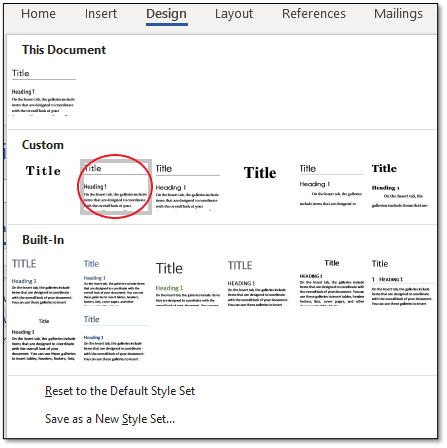
Once you’ve set up all the individual styles you want to use together, go to the Design tab. In the Document Formatting box, at right click on the open/down arrow.

Click Save as a New Style Set…
You will be prompted for a file name. What Word is doing is saving the formatting as a font template that you’ll later be able to apply.
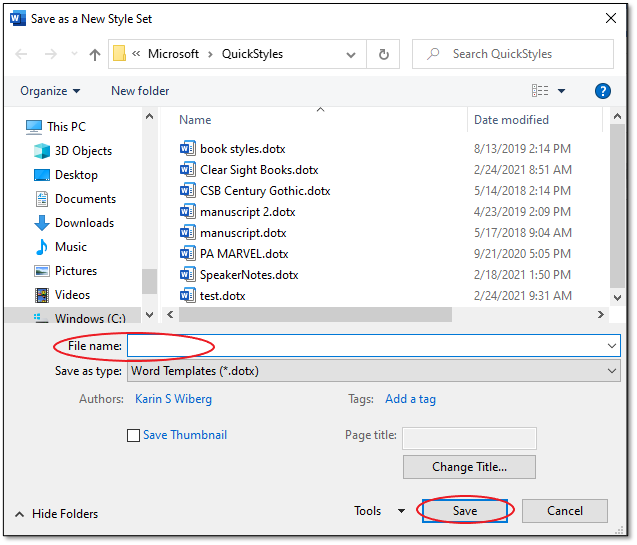
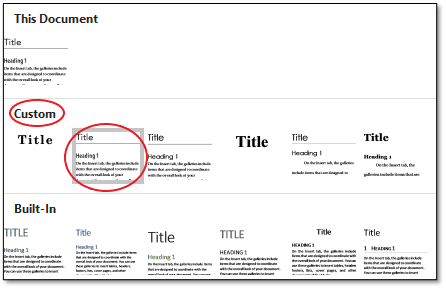
When you click Save, your style set will become available in the Custom row of the Document Formatting box.
How to Apply a Style Set
Once you’ve set up a style set, using it is the easy part.
Create or open a Word document. Go to the Design tab.
In the Document Formatting box, choose the design set you want. You may see it in the toolbar, or you can click on the open/down arrow and choose it from the Custom row.

All text that you’ve applied a relevant style to (Normal, Heading 1, etc.) will be updated to reflect the chosen style set.
So I can start this document with the manuscript format I use:
And then change it to my branded styles with a click:

Bonus tip: If you draft and edit in one style set and then change to another to proofread, your eyes will be able to see errors more easily.
Give Style Sets a Try!
The Style Sets feature is one of those tools that takes some up-front time investment to learn but can make your writing life much easier in the long run. As the client I recently shared it with said, “Wow, I can’t believe how much time this saves and how well it helps me see what I’m actually saying. And not only that, but I avoid handoffs and headaches, and all of that translates to saving me money!”
Her final comment was the kicker: “That work with you has given me the courage to experiment more.”
My goal is not to teach you technology but rather to help you share your ideas. Sometimes learning technology tricks can free up capacity to do just that.
Please don’t call me for Word coaching! Do call me for writing coaching! The Word tips are just a bonus you get when you work with me. 🙂