
Recently I’ve had several conversations with clients who were struggling with some aspect of writing—focusing while reading a document, transcribing a recording, “blank page syndrome,” physically struggling to type. They had technology at their disposal that could help overcome these challenges, but they didn’t realize it.
Today I want to talk about three Microsoft Word tools you might want to incorporate into your writing process:
- Listening to a document
- Transcribing a recording
- Dictating a document
I’m going to talk about Word because that’s the tool I use most regularly, but some of these functions are available in Google Docs as well. I won’t give instructions but will link to more info. Additionally, there are other tools you can purchase for these functions, but I like to help people leverage what they’ve already got.
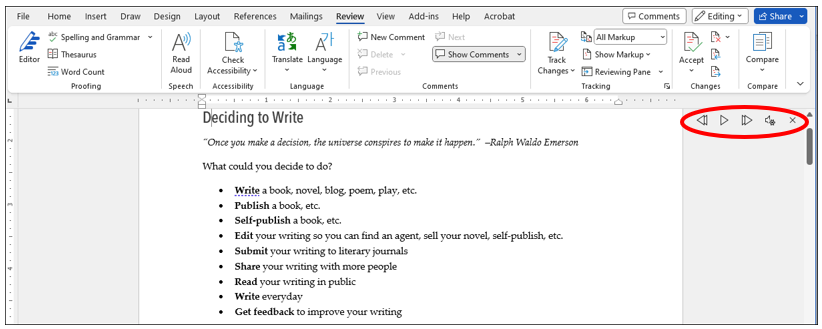
Listening to Text with Word’s Read Aloud Function
Word’s Real Aloud function lets you listen to a document. This can be helpful if you have trouble focusing, process information better aurally rather than visually, or are simply tired. Using both senses—listening to and following the text—can aid focus, comprehension, and retention.
Read Aloud is also one of my favorite editing tools. When we’ve read a document multiple times, our brains learn to glide over errors and automatically fill in gaps—missing words, duplicate words, wrong verb tenses, awkward or clunky language. Listening can help catch those problems.
How to use Word’s Read Aloud function
- In Microsoft Word, from the Review toolbar, choose the Read Aloud function.

- A control panel will show at right. Use it as you would any other playback device (such as a DVD player).
Press the single forward arrow to play.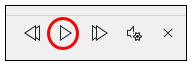
Hear a problem? Press the button with two vertical bars to pause. Fix the problem in the document, then press play again.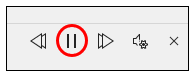
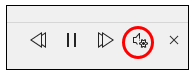
- Use the settings button to change the voice or speed of the reading.
Notes
- Read Aloud is only available for Office 2019, Office 2021, and Microsoft 365.
- If you like to use keyboard hotkeys (such as Control+Left Arrow or Control+Right Arrow) to move around your document, that functionality does not work while the Read Aloud function is turned on. You’ll have to use your mouse or trackpad.
Google Docs
In Google Docs, you need to enable this functionality in your accessibility settings, you need a screen reader tool, and you need to use a Chrome browser.
Transcribing a Recording in Word
For people who find it easier to talk than to write, I often recommend recording a conversational interview to capture book content. An interview allows for greater depth, and transcribing a conversation gets you words on the page without having to type them—eliminating blank page syndrome and getting you started on a first draft.
But if you’ve got a recording, and the tool you used did not automatically generate a transcription, how do you get one?
You could listen to the recording and type the transcription yourself, you could pay a service to do it, or you can upload the audio file and let Word transcribe it for you.
How to upload and transcribe a recording in Word
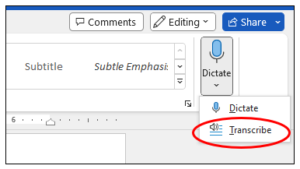
- From the Home toolbar, choose the Dictate button.

- Choose the Transcribe option.
- Choose Upload Audio.
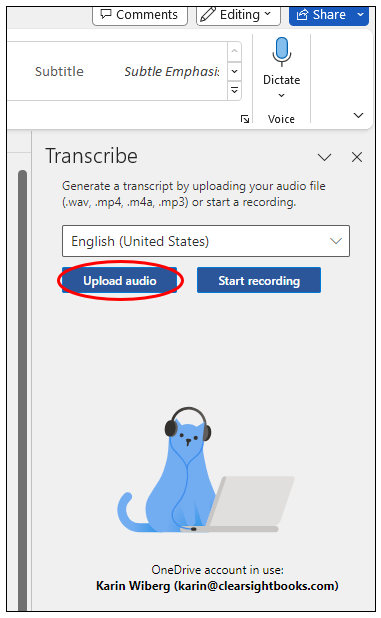
- Choose the audio file you want transcribed.

- The file will be uploaded to your OneDrive.
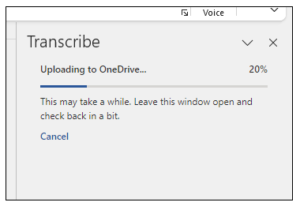
- The transcribed text will show in a box when ready. The sample below was a 40-minute Zoom call. It took a couple minutes to upload the file to OneDrive, and then the transcript was generated almost instantly.
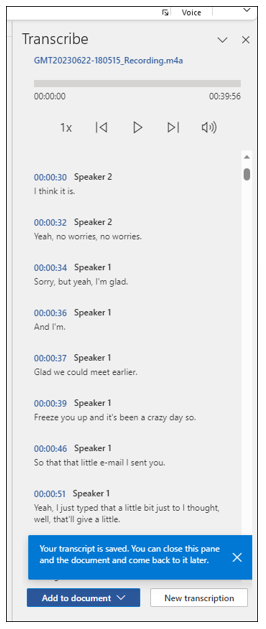
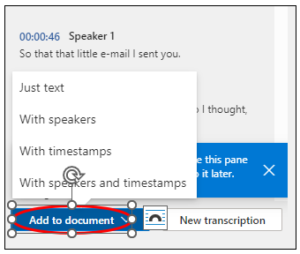
- The Add to document button lets you choose how you want to add the text to your document: just text, with speakers (meaning each piece of text has a speaker label), with timestamps, or with speakers and timestamps.
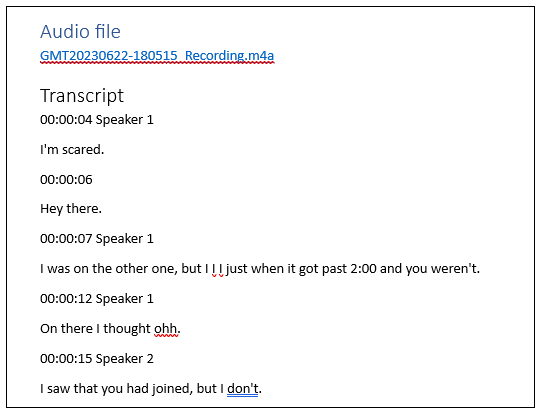
Here’s what the transcript looks like with both speakers and timestamps. It can become tedious to read, but the timestamps can be useful if you need to go back to listen to the audio file for clarification.
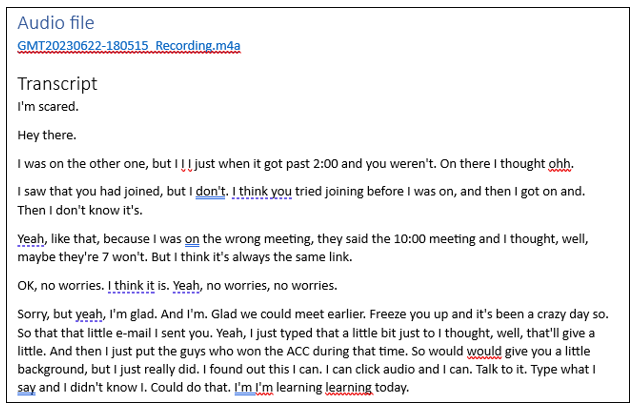
If you do the just text option, the transcript collapses the individual phrases into paragraphs (by speaker). If you do with speakers but not timestamps, it collapses the text similarly but labels the paragraphs with each respective speaker’s name.
I’d suggest you might want two copies: a copy without timestamps for ease of reading and a copy with timestamps in case you want to reference the original recording.
Tip
If you want to know who was speaking, you can quickly do a search-and-replace to change the Speaker 1 and Speaker 2 labels to names.
- Press Control+H.
- In the Find what field, type Speaker 1.
- In the Replace with field, type the speaker’s name, e.g., Karin.
- Choose Replace All.
- Repeat as needed with other speakers.
Notes
- You need an Office 365 subscription for this upload-and-transcribe function.
- Automatic transcription is not perfect. There will be plenty of incorrect words. In this example, the first line, “I’m scared,” was actually “I’m here.” Enunciation and microphone quality come into play, but the transcription should provide enough context to know what the conversation was about, and you can always go back to the original recording to check what was said.
- If you need a “pretty” transcription for public consumption, that is, you need it to be correct and formatted for easy reading, I’d suggest using a real-person, paid service like Rev.com.
Google Docs
From what I can tell, there is not an upload-and-transcribe function for Google Docs. It looks like you have to place your recording close to your computer microphone for Google Docs to listen to and transcribe. (In this Google article, see “Begin transcribing your audio,” Step 2.)
Using Dictation in Word
Besides transcribing recordings, Word can take your dictation. That is, you can speak to Word and it will transcribe in real time—and you can edit by voice as well.
Dictation may be especially useful for those who think faster than they type or who have issues that impede typing, such as arthritis or repetitive stress injuries.
How to use Dictation in Word
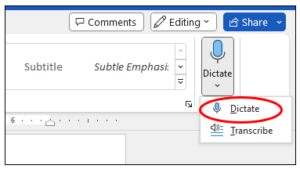
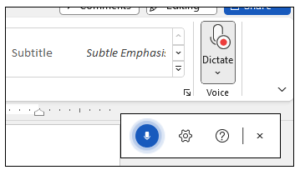
- On the Home toolbar, choose the Dictate button.

- Choose the Dictate button directly, or choose Dictate from the options.
- A small toolbar will appear. Press the microphone button to begin dictating.

- The red light will come on, and Word will begin typing what you say.
- To pause dictation, press the button again.
There are numerous verbal commands available, such as giving punctuation (“period” or “comma”) or saying “new line” or “new paragraph,” or even backing up and deleting. This Microsoft article gives plenty of details on available commands, but recognize it will take some practice to become fluent in how to use dictation efficiently.
Tip
If you are new to dictation or only need the basics, you may want to skip all the special commands and just use automatic punctuation.
- Press the settings button.
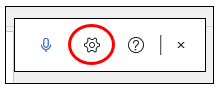
- Choose Enable auto-punctuation, then press Save.

Notes
You must have a Microsoft 365 subscription for dictation functionality.
Google Docs
Google Docs calls dictation “voice typing,” and it is similar to Word; again, you’ll need to use a Chrome browser.
Give It a Try
Technology can be a little overwhelming at first, but play around with these tools. Try all the buttons to see what they do. You’re not going to break anything, and you might find you love the results!
Way back in the day, when I was bored at work, I used to read software manuals. (Yup, really.) So I kind of got to be a Word superuser. As a result, Word tips are one of the perks you get at Clear Sight Books! Need more? Get in touch at karin@clearsightbooks.com.